Offices
In Hrvey, all employees belong to an office. An office is used to assign all country-specific settings to employees - for example time zone, public holidays, allowances and so on.
If you’re only operating in one country, just keep in mind that if you can’t find a setting in the global settings, it might be because it’s a country-specific setting, that you need to edit on your office.
An office is also a way to group employees together, so they can be viewed together - for example when viewing the dashboard calendar, when subscribing to calendar feeds in external calendars, when exporting leave reports or setting up notifications to channels in Slack/MS Teams.
While an employee can only be a member of one office, it’s also possible to add employees as “guests” at multiple offices (see below)
Note that the free tier is limited to a single office, while the premium subscription allows you to create any number of offices.
Compared to Teams
Offices are completely orthogonal to Teams (which is another way of grouping employees in Hrvey). This means that employees from different offices can belong to the same team and vice versa. This makes it easy to set it up so a given manager can be the time off approver for team members in different countries, since each team member gets their country-specific settings (such as allowances and public holidays) from their office, but all have the same approver. This makes Hrvey very suited for managing multinational teams and remote teams.
Creating offices
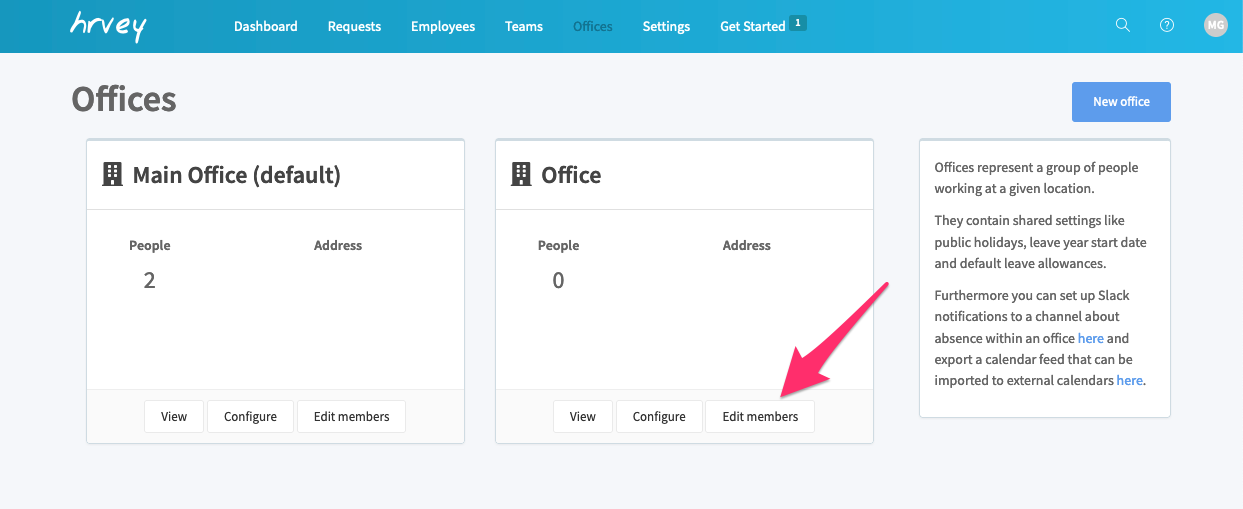
By default, there’s a single office in each organization - this is called the default office, and cannot be deleted. If an admin wants to add additional offices, they can do so from the Offices page, by clicking the “New office” button at the top right (Premium only).
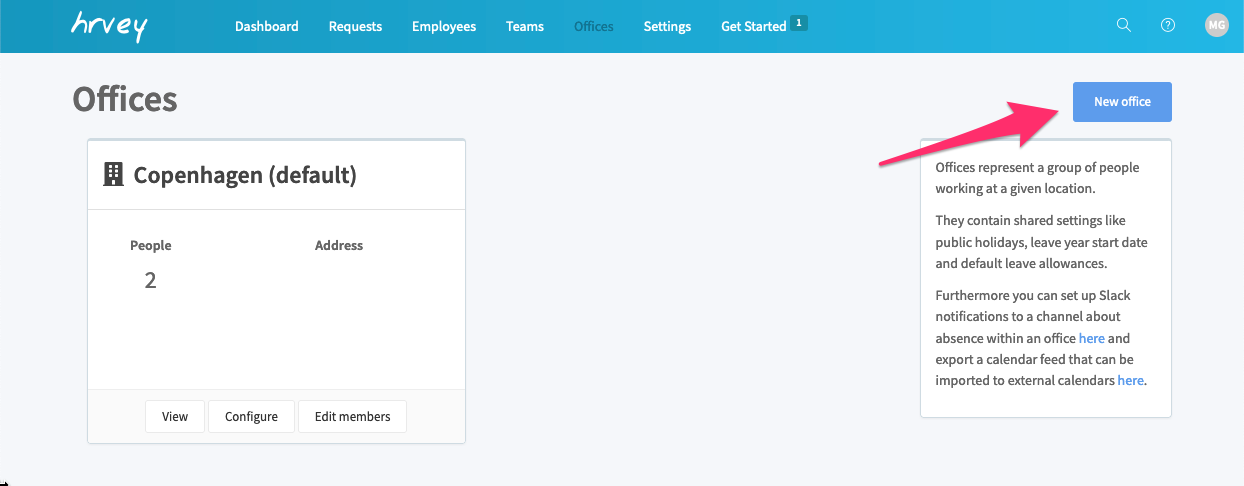
You’ll be asked to enter a name for the office and can edit any properties and settings.
Editing offices
You can edit an office by clicking the “Configure” button. Apart from the names and address there’s a bunch of settings you can confgure, all of them intended to be country-specific, so you can set up different offices with the settings for different countries.
Leave Year & Calendar Settings
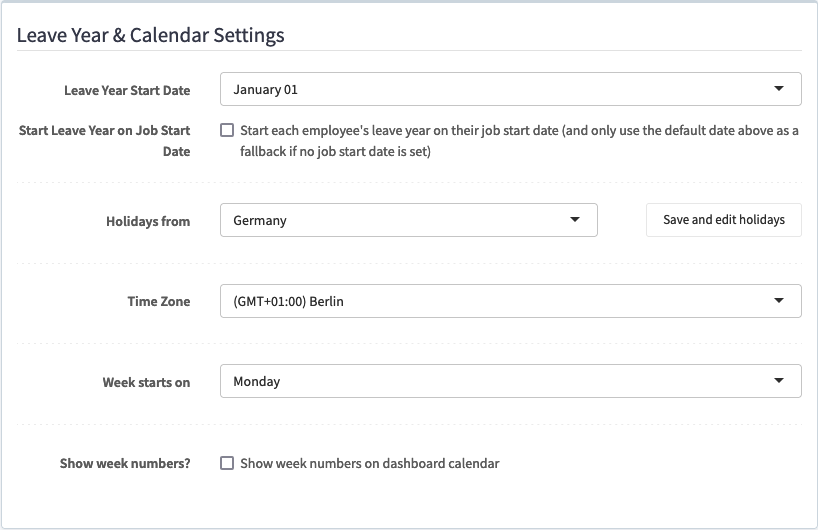
This panel has settings related to the leave year and calendar. You can set the start date of the leave year (by default January 1). You can also choose that each employee has their own leave year start date, matching their job start date (assuming they have a job start date set - otherwise the fallback is the leave year start date set on the office). There’s a full guide how to set up leave years here.
This is also where you can set the time zone, the week start day (Saturday, Sunday or Monday) and whether week numbers should be shown in the dashboard calendar.
Finally, this is also where you choose which country/region to import public holidays from. You can import the default holidays, and press the “Save an edit holidays” button to customize, by either disabling built-in holidays or adding your own ones. There’s a full article about how to set up holidays here.
Employees are assumed to not work on public holidays, so leave booked on a public holiday will not count any work days used from your allowance (the same as weekends).
Schedules
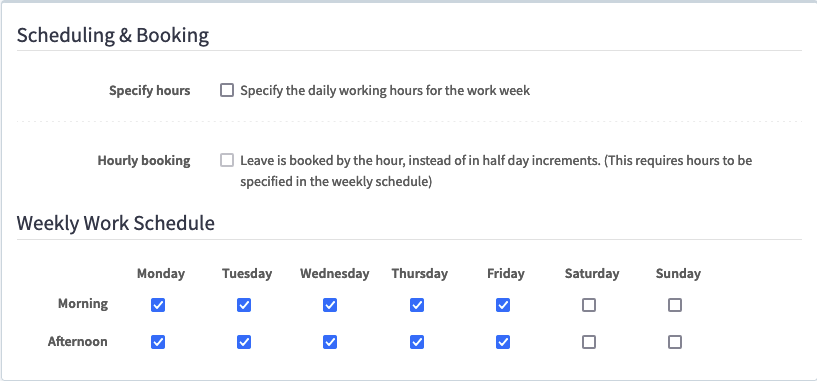
This panel allows you to set the default weekly work schedule for employees at this office - it’s possible to override this default by editing the profile of an individual employee.
This is also where you can specify the work hours for employees, and whether they should book leave by the hour instead of in half-day increments (premium only). There’s a full guide how to set up schedules here.
Available Leave Types
Choose which leave types should be available to book for employees at this office (can also be set while editing leave types)
Allowances
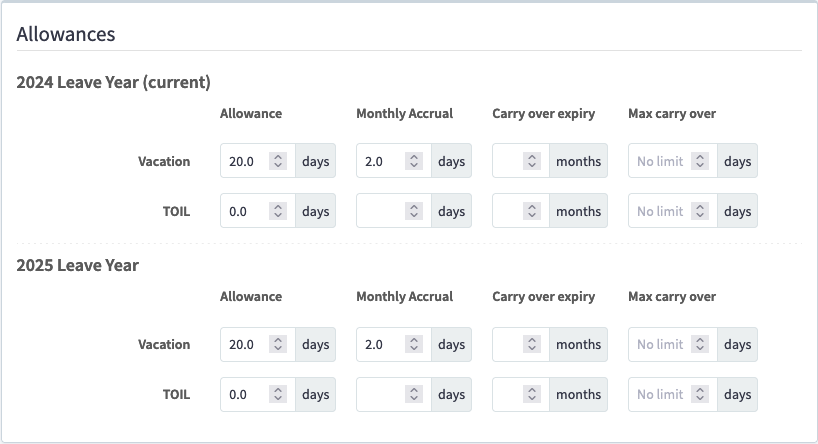
This panel lets you set up the default leave allowances at this office (for those leave types that have been set up to operate with an allowance). These default allowances can also be overriden by editing an individual employee’s profile. See a full guide how to set up allowances here.
Adding employees to offices
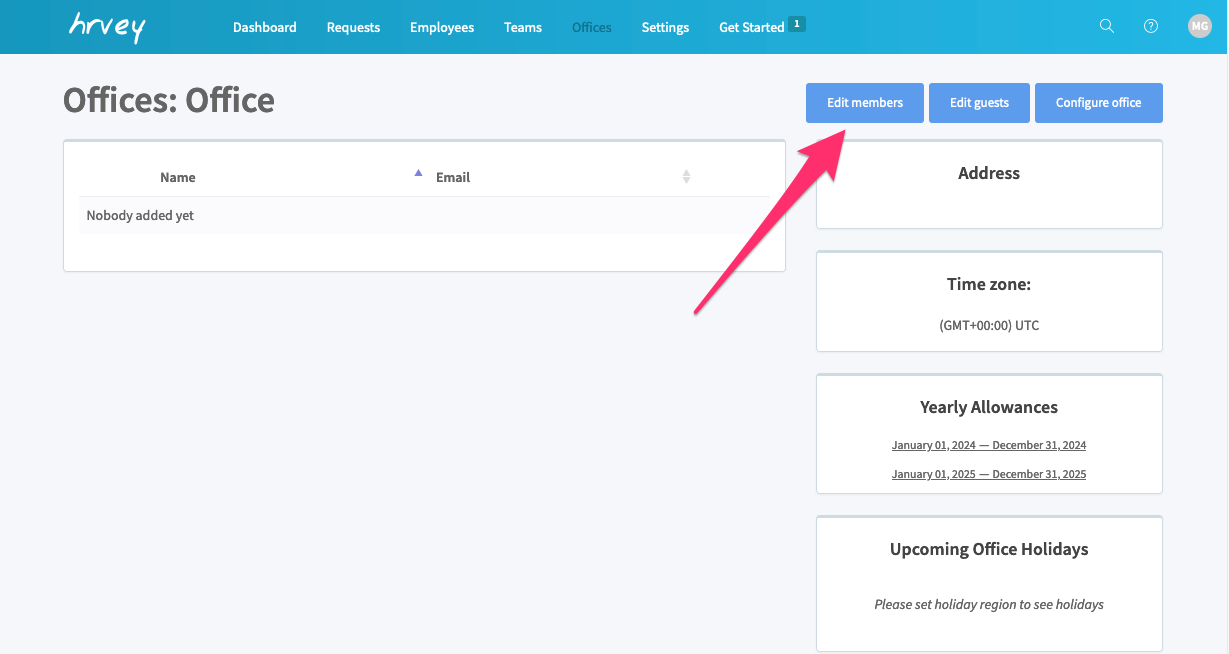
When viewing an office, you can add office members to it by clicking the “Edit members” button.
You’ll see a list of current members on the left, and on the righthand side will be a widget that lets you search for employees to add to the office.
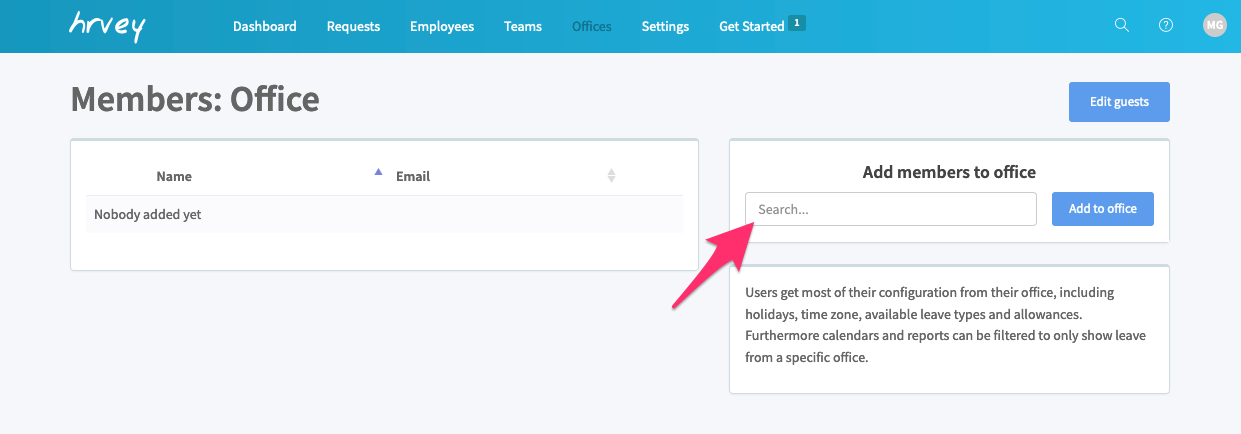
Once you’ve found the people you want to add, click the “Add to office” button. Employees can only be a “member” of a single office, so they’ll be removed from whichever office they were previously at. They can however also be added as “guests” to any number of offices (see below).
Adding employees as guests at an office
While employees can only be a “member” of a single office, it is possible add them as “guests” to any number of offices. This won’t affect the country-specific settings they get from their main office (that they are a member of), but is useful for grouping people together for viewing/reporting purposes.
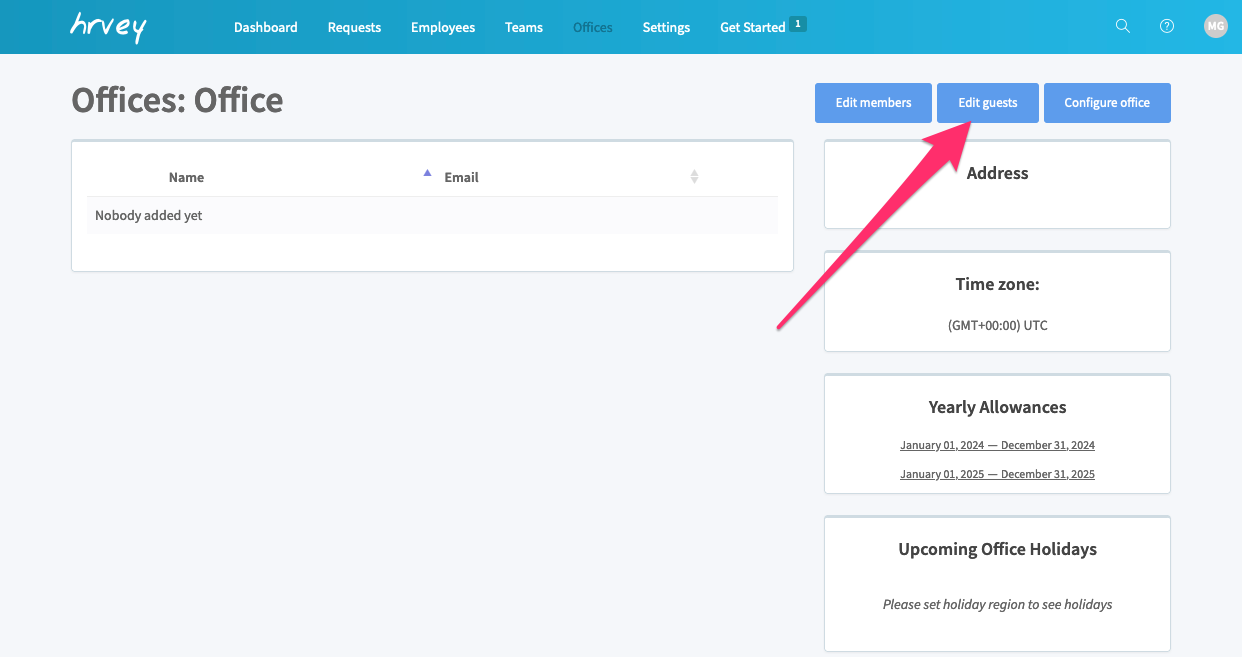
To edit guests at an office, either click the “View” or “Edit Members” button on an office, then click “Edit guests” at the top
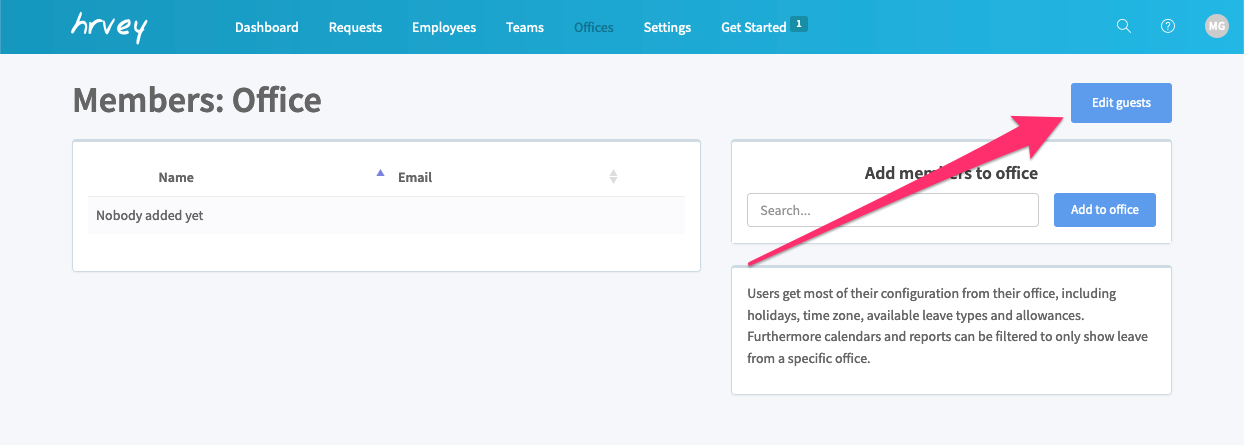
You’ll go to a page where you can add guests similar to how you added members - search for employees to add in the widget on the righthand side then click “Add guests”
Removing employees from an office
You can remove an employee from an office in two ways - either by just assigning them to a different office, or by clicking “Edit members”, then clicking the gear next to their name and selecting “Remove member”. Note that this only works on offices that are not the default office (since the default office will be the one employees get assigned to, when removed from another office).
Removing an employee as a guest works in the same way - click “Edit guests”, click the gear next to their name and select “Remove guest”
If you have any further questions, feel free to write us at support@hrvey.com