This guide shows you how to set up a Group in Google Workspaces to use as a shared inbox.
When is a shared inbox useful?
- One scenario could be to create a shared support email (e.g.
support@mysite.com) that multiple users can read and respond to when some emails you.
- Or if you sign up for an online service, instead of having an employee use their own email address, create one just for this purpose, e.g. when creating an account at Acme Inc, create an email called
acme@mysite.com. This has multiple benefits:
- Multiple users can receive notifications and other communications from the service
- If the employee that signed you up for the service at some point leaves your company you can just change who is included in the group corresponding to the
acme@mysite.com email, rather than needing to change the contact email at Acme (and some sites don’t even support handing over ownership this way). This way when an employee leaves, you can always safely close down their account and email (in some jurisdictions it’s illegal for others to access their email, so you wouldn’t want to take over their personal email anyway).
Creating a Group to be used as a shared inbox
- First, go to the My Groups section of the Google Groups app here. Then click the blue link to switch to your organization (so the created group belongs to your organization).
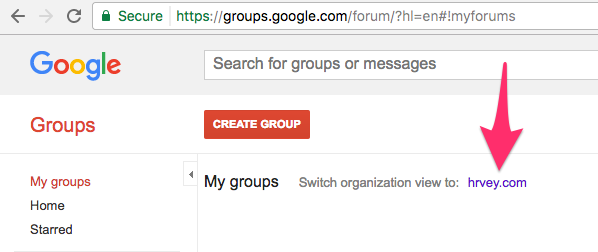
You should now have been redirected to https://groups.google.com/a/[YOUR_DOMAIN]/forum/#!myforums.
- Now click the red Create Group button at the top. The page should now look like this:
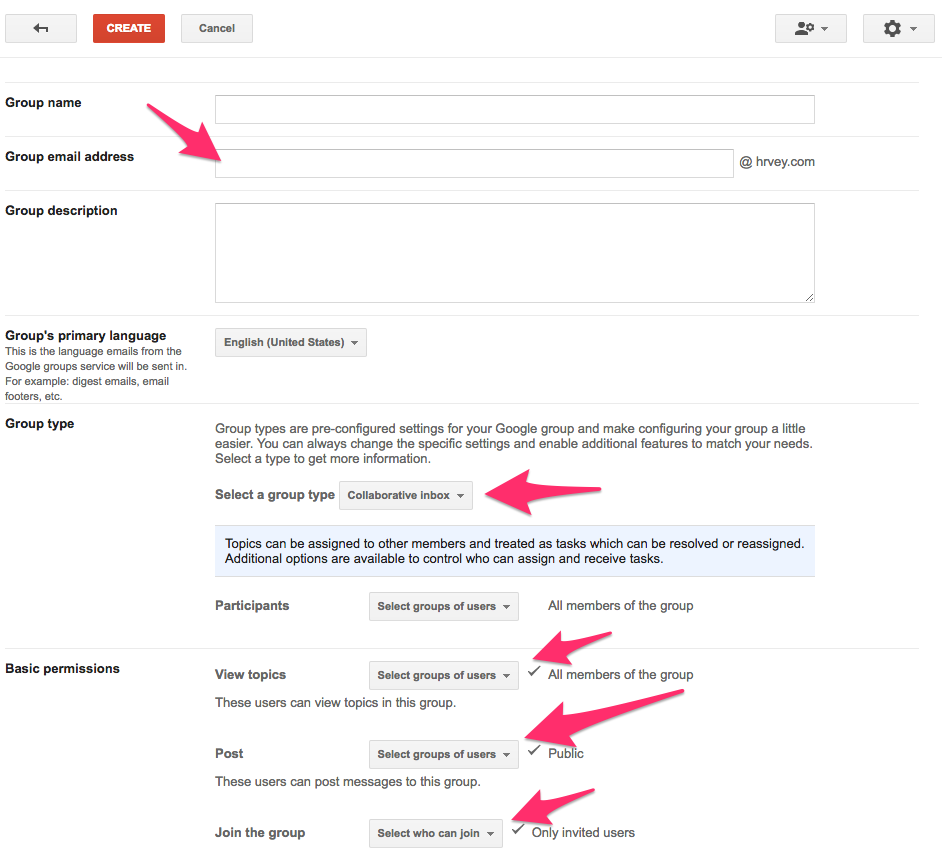
- Enter a name for the group and if needed, under Group email address modify the start of the email to what you want, e.g. ‘support’ if you want to create
support@mysite.com.
- Under Group type, either leave it as Email list (if you just want to have multiple people receive the emails) or select Collaborative inbox from the dropdown (if you want Google Workspaces to help to keep track of who has replied to which incoming emails - useful for support).
- You need to make a change to each of the options under Basic Permissions:
- View topics: Remove the checkmark from All organization members (so only group members have access)
- Post add a checkmark next to Public.
- ⚠️ This part is really important, but is often forgotten. If this is left out, the group email will only be able to receive emails from other email addresses at your organization, rather than from any address.
- Join the group: Move the checkmark to Only invited users so not anyone in the organization can join.
- Finally when you are done with all this click the red Create button at the top of the page.
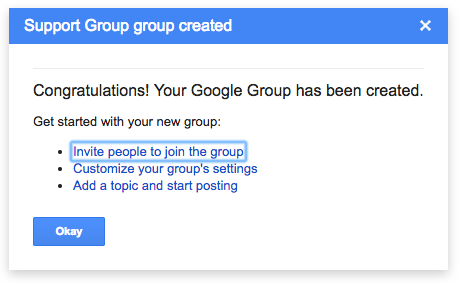
- You can now also take the opportunity to add other users to the group (you are automatically added as an owner) by following the link in the dialog box (you can also do this later when managing the group).
Congratulations you now have a group with an email that that can be used as a shared inbox!
If you have any further questions, feel free to write us at
support@hrvey.com
If you don’t already have an account you can learn more and sign up for free at hrvey.com